
Welcome to the tenth block reveal
for the Sew Let’s QAL

This QAL is brought to you by Partners in Design: Where Friends and Fabric Meet.
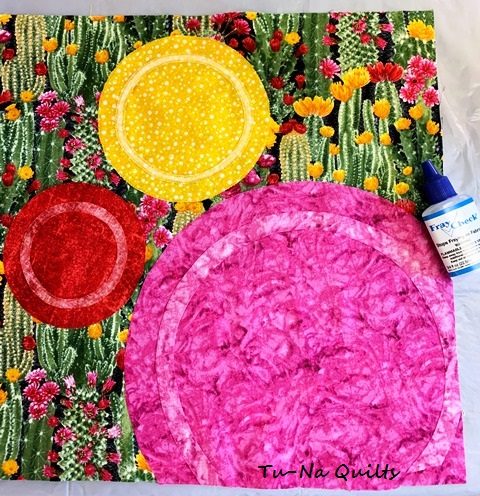
Presenting: Buttons

This is a 12.5″ block featuring one of my favorite items to collect.
This super quick but fun block pattern was created by Laura Piland of Slice of Pi Quilts. You can download it free on her blog here from now until September 24th, 2019. After then, the patterns in this QAL may not be available anymore or may be available for a small fee. Don’t delay, download them today.
In Laura’s pattern, the buttonholes are appliqued circles. But look close at what I did.
Tips and Tricks to Constructing this Block
- Make do with what you have.

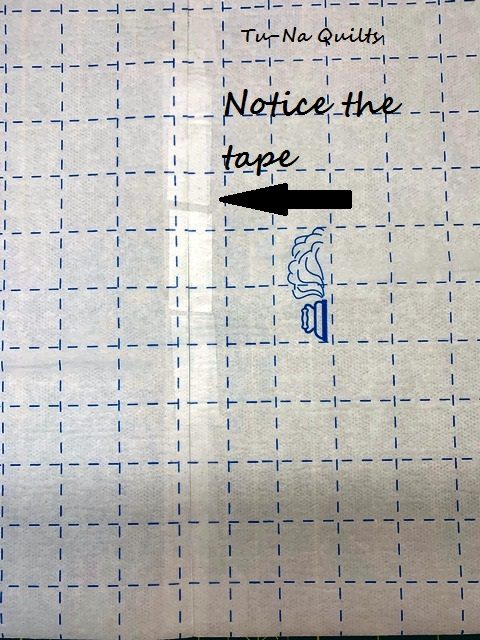
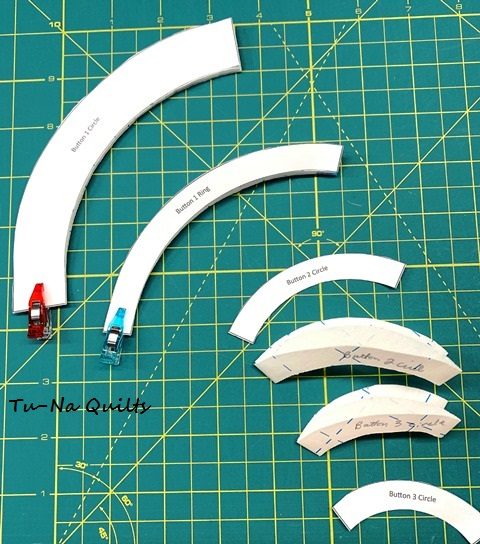
I only had a package of Lite Steam a Seam II on hand. Since they are only 9 ” wide, I had to tape two together to make it wider. I flipped it over and taped the other side, too.

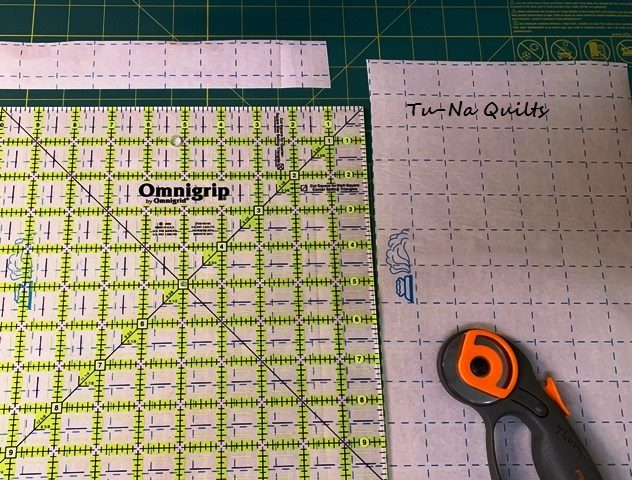
Then I trimmed the piece to 10″ square and proceeded with the instructions.
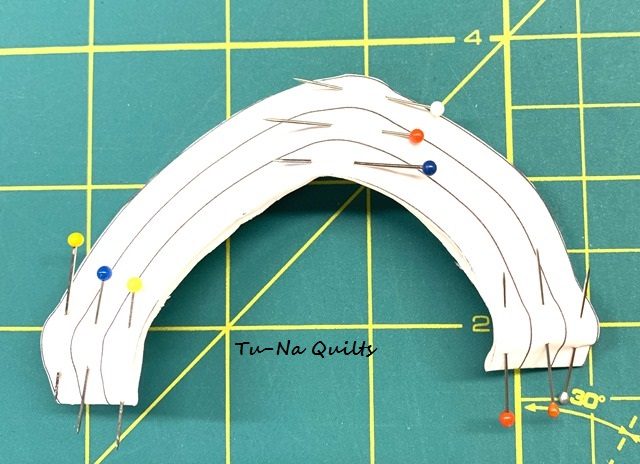
- Pin the paper pattern to the fusible.
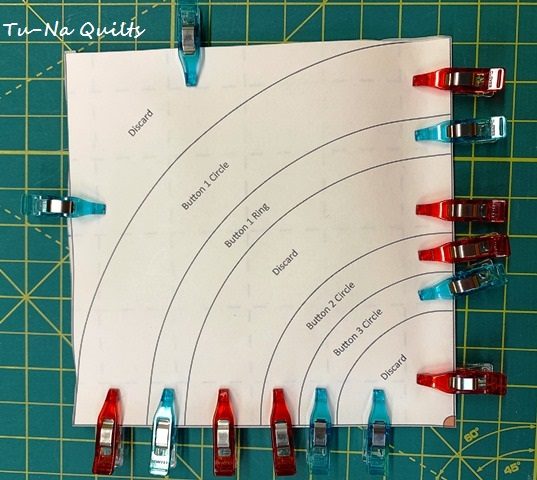
I used mini clips to hold the larger pattern and fusible together. These worked well.
But the smaller pattern worked better with small pins.

First I laid the pattern over the fusible web and then folded it in half. Then I found a few small dressmaker pins to use that were leftover from my garment sewing days. This made cutting it out easier. Do check out Laura’s post here about her recent garment sewing day.
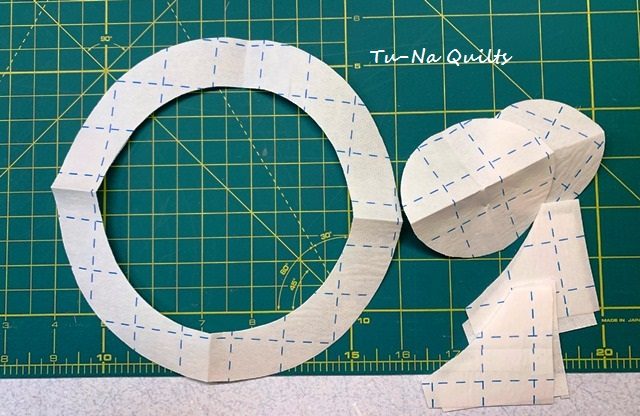
- Once cut, label the fusible with a pencil so you can remove the pins and pattern.
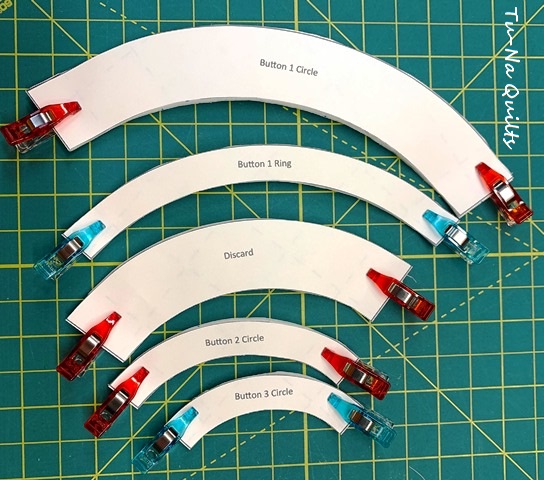

- Save the extras.

I save all pieces that are cut away. For example, the ones marked “discard” on the pattern. They come in handy for other projects.
- Choose button fabrics that will contrast well. This pattern uses the wrong side of the fabric for the ring portion. Check it out to make sure you will have good contrast or choose another fabric to use for the ring. Solids and batiks do not have the contrast necessary to achieve the look that pattern calls for.
- Work in groups to avoid confusion. I piled the rings together and piled the circles together. I started with fusing (by ironing) the circles to my fabrics first and then cut them out around the outer edge. Then I did the rings. This helped me cut only around the outside edges of the circles and around both edges of the rings.
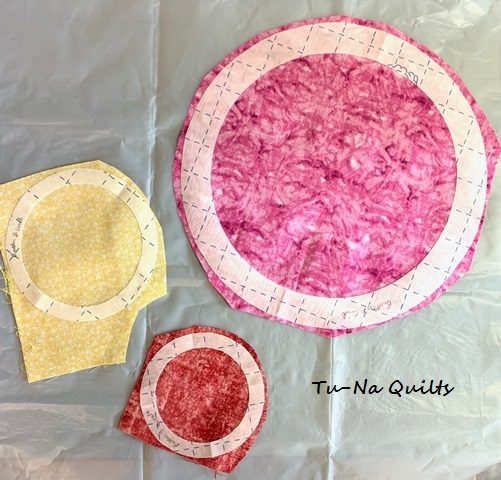
Lay the fusible web on the WRONG side of the fabric for the circles.
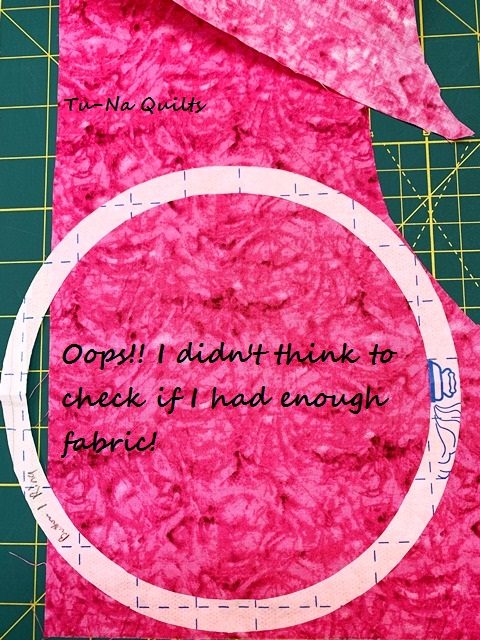
- Embrace your mistakes.

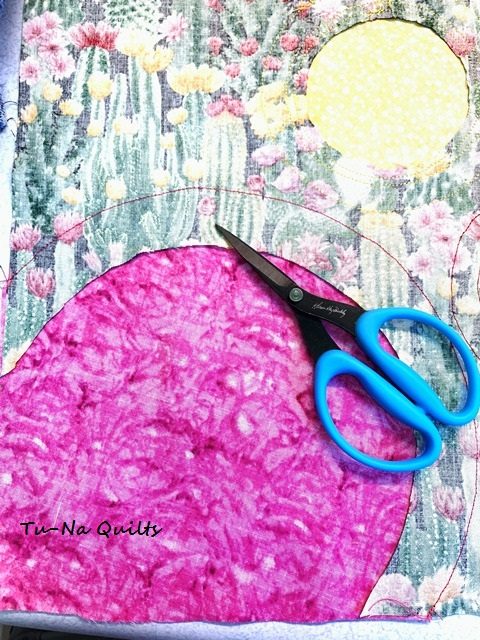
I did not check to make sure I had enough fabric for the ring until after I had already fused the fusible web onto the circle. Of course, this was all of this particular fabric that I had left. I looked at the pattern and saw that only part of the ring showed so I decided to take a chance that this was enough to make it work. The fusible web for the rings are fused to the RIGHT side of the fabric. This is not the usual side to fuse it on so make special note of this. This is one of Laura’s brilliant ideas to give your buttons a unique look.
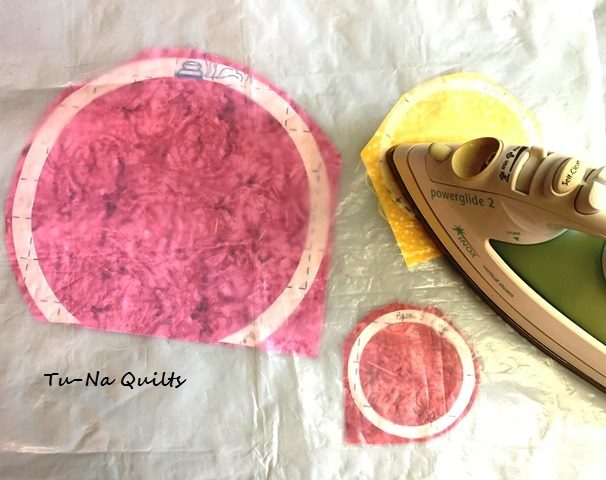
I cut away the part of the large ring that was hanging off the fabric. But I really recommend that you check to make sure you have enough fabric before you begin.
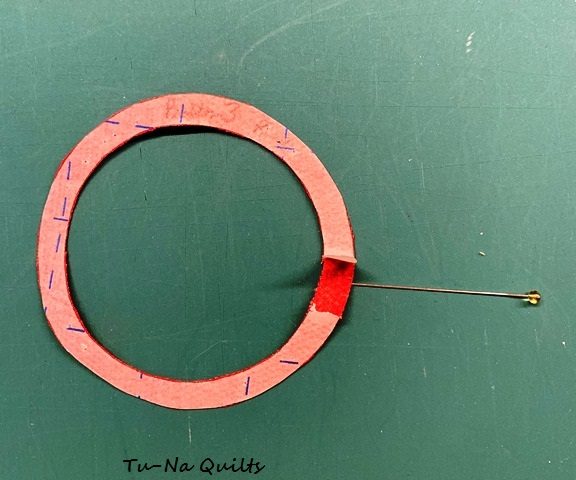
- Use a pin to score the paper side of the ring. Then bend it back along the score and peel the paper away. This helps to prevent frayed edges if you were to pick at the side to try to grab the edge.

Using this method helps to prevent frayed edges.
- Make it easy. I found that the inner rings of the small and medium button were 1/2″ from the edge of the circles and the larger ring was 7/8″ from the edge of the circle.
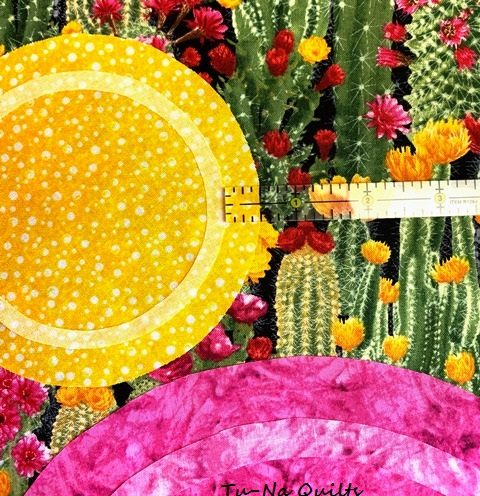
Knowing these measurements will come in handy when placing your rings inside your circles.
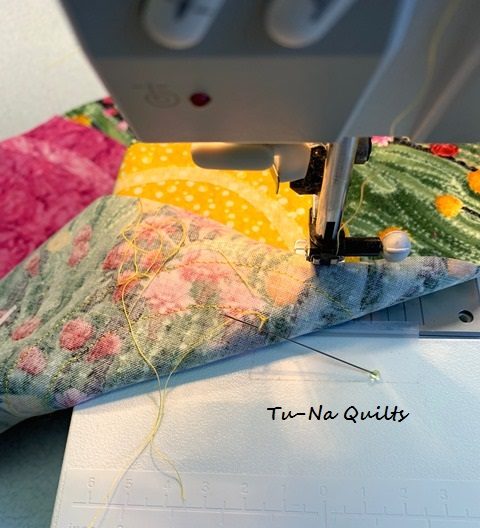
- Using a shorter stitch length (2.0 or even 1.5), appliqued around the outer edge of each circle before securing down the rings. I just stitched a straight stitch close to the edge as I felt a blanket stitch would be too distracting.
- Then to reduce bulk, I trimmed out the background fabric away from the wrong side of the block before continuing with appliqueing around the rings.

Usually I try to trim a half inch from the stitching line but the circle is fused down this much. I usually hold my breath while I cut it away as I’m afraid of cutting into the top fabric. So I’ve learned to put my finger between the top fabric and my scissors and to gently pull the fabrics apart. I keep this medium Karen Buckley scissors only for applique.
- Hide them well. Pull the threads to the back of the block and knot.
I use a pin to help pull the top thread to the back and then I knot the two threads together and clip the ends.
- Tame the whiskers. While appliqueing the first block, I noticed that my “buttons” were developing whiskers. You know, those tiny little hairs along the side of the appliqued piece. So I decided to try an experiment. I wonder what I can do to prevent the whiskers? So I grabbed some Fray Check and applied some to all the edges.
Time will tell if this works or not.
- Size really does matter! Use the right size of needle helps.

After the fray check was dry, I proceeded to applique the circles and rings. But I noticed the edges of the red one was still getting whiskers. Then I remembered that I had not changed the machine needle since I worked on my last project. So I was trying to applique with a denim needle. Once I changed it to a new needle, all was fine. But then I only had the larger pink circle and ring left to finish.
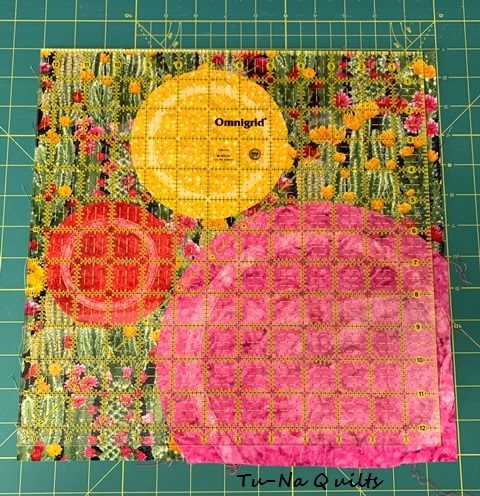
- Wait to trim. I trimmed the block to 12.5″ after I finished appliqueing.

My “Oops” turned out alright after all! I trimmed more off the bottom than the top. Which leads me to one more tip–Make sure your two smaller circles are at least a half an inch away from the edge of the block.
IfWhen I make this block again, I will move the larger circle to reduce that little bit of ring that still shows on the bottom right. - Make it your own.


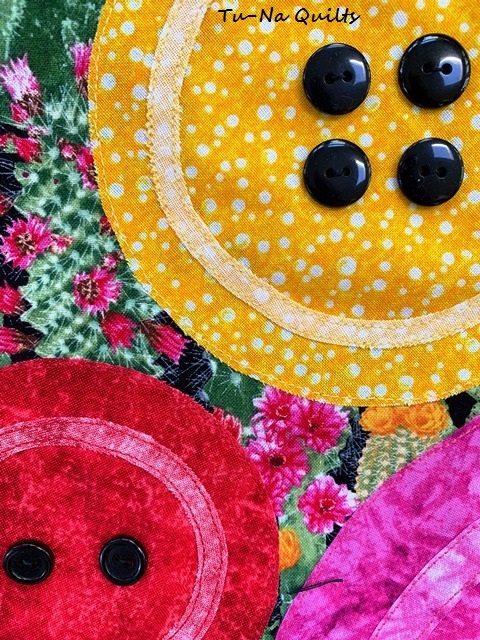
I added buttons for the button holes.
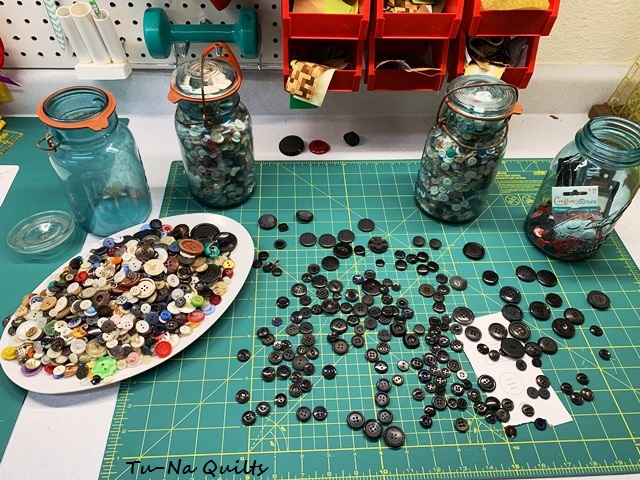
This allowed me the chance to dig through my button collection again…
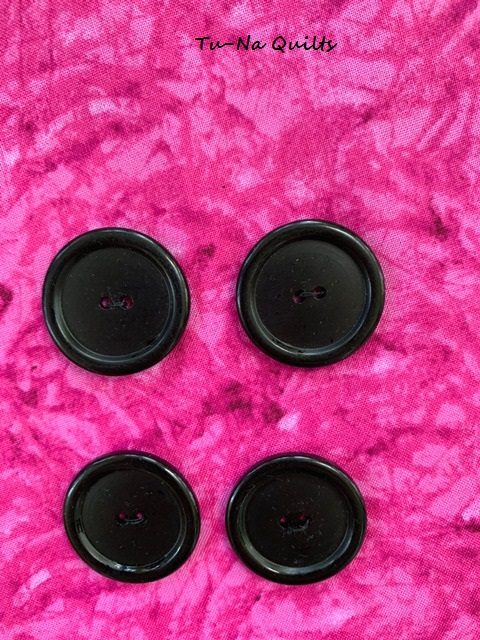
to find just the right buttons for the buttonholes! I quickly sewed on the buttons only for photographing. I will remove them for quilting and sew them on again when I am finished.
See These Hosts for More Construction Tips
Look for bi-weekly inspiration from these bloggers.
Jennifer @ The Inquiring Quilter
Karen @ Tu-Na Quilts, Travels, and Eats
In addition to those listed above, look for inspiration from these bloggers during:
Segment 3: July 16th to September 10, 2019
Laura @ Slice of Pi Quilts — The designer of this block
Quilt Hosts
Look for bi-weekly inspiration from these bloggers as they turn their blocks into a quilt.
Join this QAL
You can join in anytime. Every other Tuesday, a new block will be released until all 13 blocks have been released. You can find the full schedule on my post here. This QAL is divided into three segments. Segment one consisted of 5 blocks. Segments two and three will each have four blocks.
Share a picture of your block on our Facebook page, or on Instagram with the hashtag #SewLetsQAL. We want to see them. At the end of each segment, post a picture containing all the blocks in that segment. A prize will be awarded at the end of each segment. At the end of all the segments, a grand prize will be selected from among the pictures that contain a finished quilt top or finished projects containing all of the blocks from this QAL (one picture containing all of the 13 blocks finished into either a quilt top or several projects).
Segment 1: March 12th to May 21st
- March 12th – Block 1: Sandra @ Sandra Healy Designs — Find Block One There
- March 26th – Block 2: April @ JANDA Bend Quilts —Find Block Two There
- April 9th – Block 3: Sherry @ Powered by Quilting — Find Block Three There
- April 23rd – Block 4: Bobbi @ Snowy Days Quilting — Find Block Four There
- May 7th – Block 5: Abbie @ Sparkle On! — Find Block Five There
- May 7th – Segment Wrap-up and Project Suggestions
- May 21st – Segment 1 Prize Winner Announced! Congratulations to Ethel Brake
Segment 2: May 21st to July 15th
- May 21st- Block 6: Jennifer @ The Inquiring Quilter — Find Block 6 There
- June 4th – Block 7: Karen @ Tu-Na Quilts, Travels, and Eats — Find Block 7 There
- June 18th – Block 8: Sherry Shish @ Powered by Quilting — Find Block 8 There
- July 2nd – Block 9: Kathleen McCormick @ Kathleen McMusing — Find Block 9 There
- July 2nd – Segment Wrap-up and Project Suggestions
- July 16th – Segment 2 Prize Winner Announced!
Segment 3: July 16th to September 10th
- July 16th – Block 10: Laura Piland @Slice of Pi Quilts — Find Block 10 There
- July 30th – Block 11: Becca Fenstermaker @Pretty Piney Quilts
- August 13th – Block 12: Sandy Maxfield @Sandy Star Designs
- August 27th – Block 13: April Adams @JANDA Bend Quilts
- August 27th – Segment Wrap-up
- September 9th at 11:59 pm EDT – Last day to enter for the Segment 3 giveaway. Post a picture with all 4 blocks in this segment on either the linky party (find it on any of the blogs), Partners in Design Facebook page, or Instagram with the hashtag #SewLetsQAL.
- September 10th – Segment 3 Prize winner announced
Grand Prize Giveaway
- September 23rd at 11:59 pm EDT – Last day to enter for the grand prize giveaway. Post ONE picture of ALL 13 blocks from the Let’s Sew QAL made into either a Quilt top (doesn’t need to be quilted or bound) OR finished multiple projects that together use all the blocks. Post this picture on either the linky party (find it on any of the blogs), Partners in Design Facebook page, or Instagram with the hashtag #SewLetsQAL.
- September 24th – Grand Prize winner announced
Block patterns will be free from the designers and available on their blogs UNTIL the date of the Grand Prize announcement September 24th, 2019.
Enter to Win
Entering to win the prizes below is as easy as 1, 2, 3.
- Everyone (You must be 18 to be able to enter to win prizes) gets to participate because International entries are welcome! You do NOT need to have a blog to enter.
- Make all of the blocks in this segment provided to you free of charge for this event. Use your own fabrics and embellish them as you like. If entering the giveaway, the blocks should definitely be recognizable as made from these free patterns. Take one picture with all of them included.
- Post one picture of all of your blocks by 11:59 PM EST, July 15th 2019 either on the Facebook page, or on Instagram with the hashtag #SewLetsQAL, or on the hosts blog Linky party at the end of each segment. You are welcome to post a picture on each of the sources but it will only count as one entry.
Segment 3: Prizes and Sponsors
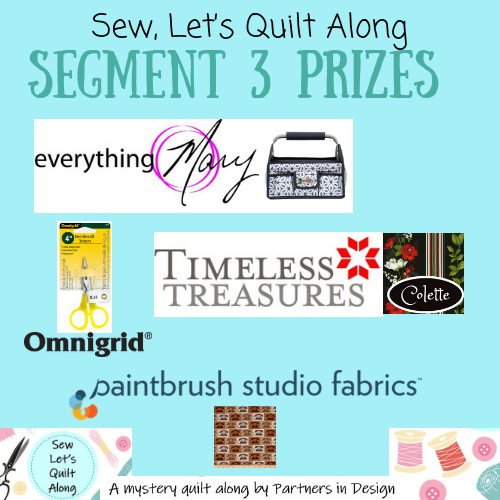
- 4” Needlecraft Scissors from Omnigrid (a Prym Company)
- 5 Piece Fat Quarter bundle from the “Ring Ring” collection by Hoodie Crescent (color Cinnamon) from Paintbrush Studio Fabrics
- Craft Storage Tool Box from Everything Mary
- 13 piece Fat Quarter Bundle of the Colette Collection from Timeless Treasures
AND
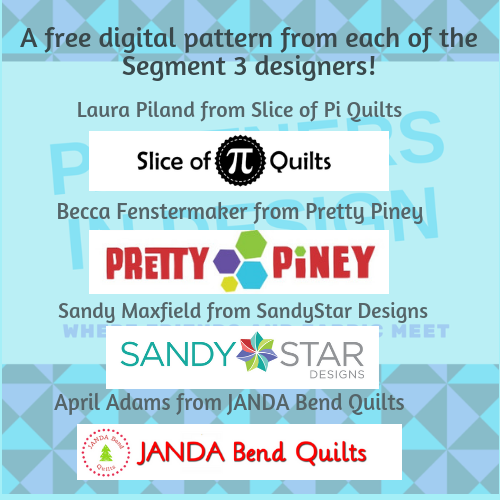
A free digital pattern from each of the Segment 3 designers!
- Laura Piland from Slice of Pi Quilts
- Becca Fenstermaker from Pretty Piney
- Sandy Maxfield from SandyStar Designs
- April Adams from JANDA Bend Quilts A Christmas Tree Farm table runner pattern
Choices!!!
You choose what you want to make: A quilt or several smaller projects. The sewing machine, revealed in segment one, is the only block that will be large. The rest will be 12.5″ unfinished. We have several hosts who will offer suggestions as to what you can do with your blocks if you don’t want to make a quilt.
Not sure what to do? Just start making the blocks and decide along the way. A grand prize will be offered for a completed (but it doesn’t have to be quilted) quilt top or several projects that use all of the 13 blocks.
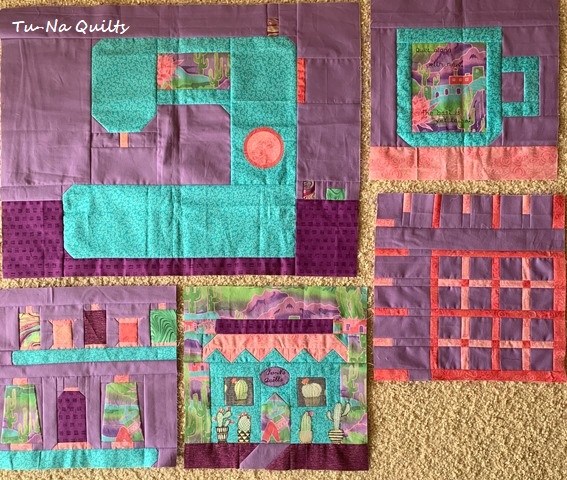
I’ll be making several projects for my sewing room. I completed a mini quilt using one of the blocks from the first segment. You can read about it here. The remaining blocks from the first segment as well as a couple from the third segment will be used for a sewing machine cover. So I really can’t show you this project until those blocks have been revealed. Plus it gives me some extra time to complete it.
You will notice that my fabric has changed for each segment.
Don’t Miss Out on My Previous Sew Let’s QAL Posts
Segment 1:
Tu-Na Quilts: Sew Let’s QAL – Introduction
Tu-Na Quilts: On Pins and Needles – A look at my fabric selection. It varies with each segment of the QAL.
Tu-Na Quilts: Sew Let’s QAL Block 1— Sewing Machine
Tu-Na Quilts: Sew Let’s QAL Block 2 — Quilt Along Mug Block
Tu-Na Quilts: Sew Let’s QAL Block 3 — Ruler
Tu-Na Quilts: Sew Let’s QAL Block 4 — Spinning Spools and Thread Tales
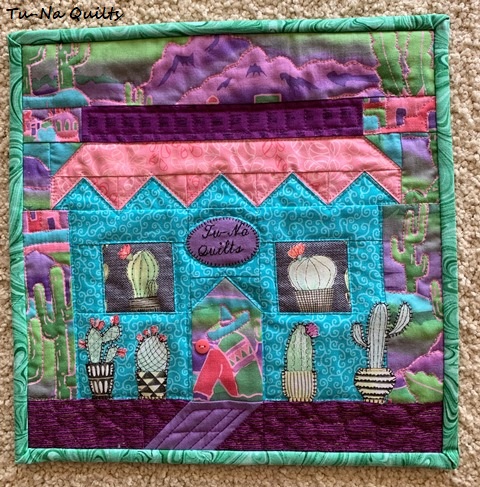
Tu-Na Quilts: Sew Let’s QAL Block 5 — Quilt Shop
Tu-Na Quilts: Segment One Wrap-Up and Project Idea — A Quilt Shop mini wall hanging
Segment 2:
Tu-Na Quilts: Sew Let’s QAL Block 6 — Binding Clips
Tu-Na Quilts: Sew Let’s QAL Block 7 — It’s a Pressing Issue — This is my pattern. The post also contains Tu-Na’s Tried and True Easy Guide to Pressing Matters.
Tu-Na Quilts: Sew Let’s QAL Block 8 — Pin Cushion
Tu-Na Quilts: Sew Let’s QAL Block 9 — In Stitches

What I Learned Today:
- I can make do with what I have. I was hoping to get to a quilt shop to get a yard of Lite Steam a Seam II but I didn’t do so and this block needed to be done a week ago.
- The next time my grandchildren need a project, I will bring out the buttons and have them sort out the black, white, and colored buttons. This should greatly reduce the amount of time when I search for buttons.
- My computer is still having issues. I can type a bit and then all of a sudden it stops and refuses to show the letters or the space bar doesn’t work requiring me to to go back and add in all the spaces when it decides to start again.
- This computer is taking way too much of my time!
- Tu-Na Helper agrees with #4 in that I spend a lot of time in front of it.
- I am definitely thinking a new laptop will solve my computer problem.
Questions: What do you collect? Tu-Na Helper would say that I collect fabric but really I collect buttons and cookbooks.
Linking this week to:
Main Crush Monday at Cooking Up Quilts
Monday Making at Love Laugh Quilt
Let’s Bee Social at Sew Fresh Quilts
Midweek Makers at Quilt Fabrication
Wednesday Wait Loss at The Inquiring Quilter
Can I Get a Whoop Whoop? at Confessions of a Fabric Addict
Finished or Not Friday at Busy Hands Quilt
Thanks for stopping by and do come again.
Karen, Tu-Na Quilts

Well, this time you are ahead of the game, Karen. I couldn’t get the pattern yet, and nobody else has her block up.
Once again, you have some very good tips. The buttons add a fun touch. I don’t know if I have enough of the same buttons to use on any one piece. I also collect buttons. My favorites are the colored plastic ones from the 40s to 50s, I guess, that have a design pressed into them. I also collect old hankies, vintage children’s books, one of a kind napkin rings, baby planters, vintage rayon seam tape, vintage clothing patterns (especially from the 30s and 40s) and other kinds of vintage sewing items. There’s hardly any room in my studio for my sewing stuff!
LikeLike
Great rendition of a favorite-to-be pattern. I am also a button collector. I think we might have talked about this small obsession once. =)
LikeLike
Pingback: Sew Let's Quilt Along Block 10 - SandyStar Designs
Pingback: Sew Let’s QAL Block 10! – Powered by Quilting
Pingback: “Sew, Let’s Quilt Along” Block 10 Release! | Sparkle On!
Your block is so pretty with wonder tips with pics to make it. I love seeing more of your button collection, perfect to chose from for a button block!
Your mini wall hanging quilt shop is adorable, thank you Karen for making and sharing it 🙂
LikeLike
A really happy block. Love the colors your chose and your tips are so good. Nice to have a post from you.
LikeLike
This is just stunning! And thanks for the tips – especially the one about not enough fabric!!
LikeLike
I love your buttons, your hints and seeing all those buttons collected! I have mine in a plastic tray with dividers – it used to be little baggies but I got tired of it. Love them in the mason jars for a great display!
LikeLike
What a really cute block! I used to have my buttons all sorted and neatly divided by colors, but one day my hubby dropped the container and it exploded all over my sewing room floor. Now they are in one big jar and it was months before I stopped finding buttons in and under things.
LikeLike
Using buttons for the button holes, genius!
LikeLike
Love your block! So bright and cheery!
LikeLike
Great block! I love that you figured out the measurements for the rings. Placing those was a bit tricky.
LikeLike
Pingback: Tu-Na Quilts: Sew Let’s QAL Block 11 – By the Bolt | Tu-Na Quilts, Travels, and Eats
Pingback: Tu-Na Quilts: Sew Let’s QAL Block 12 – Rotary Cutter | Tu-Na Quilts, Travels, and Eats
Pingback: Sew Let's Quilt Along Block 12 - SandyStar Designs
Pingback: Tu-Na Quilts: Sew Let’s QAL Block 12 – Who’s Got the Thimble? | Tu-Na Quilts, Travels, and Eats